Pendahuluan Last updated: 2022-03-06
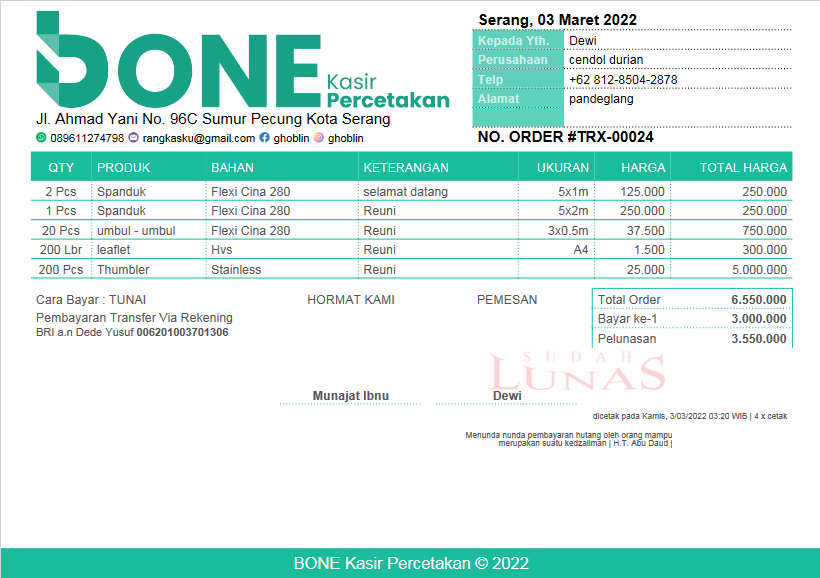
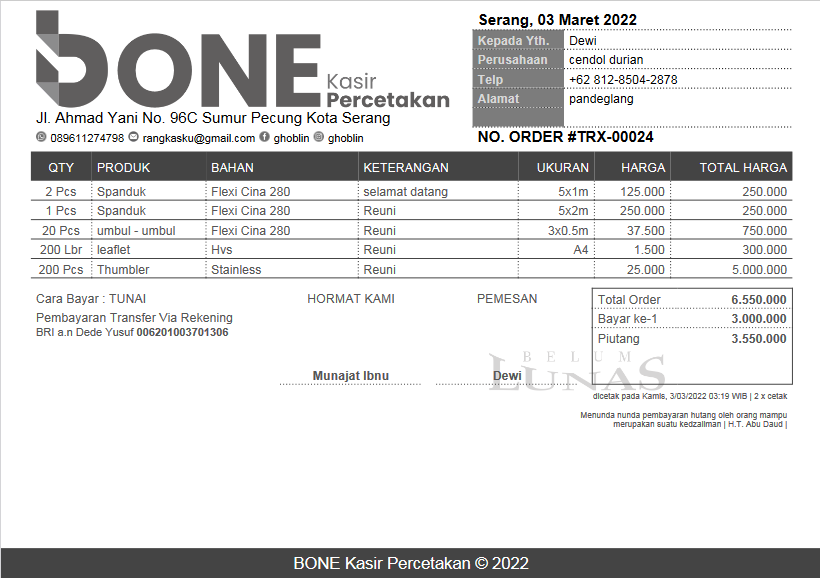
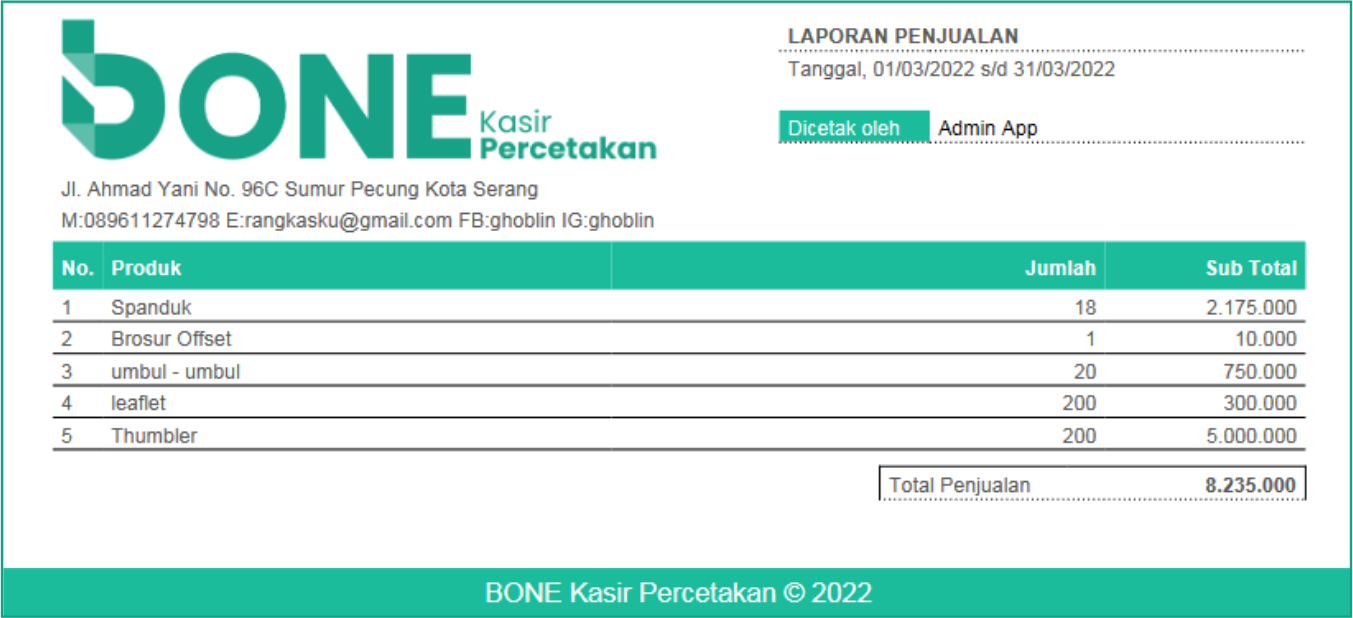
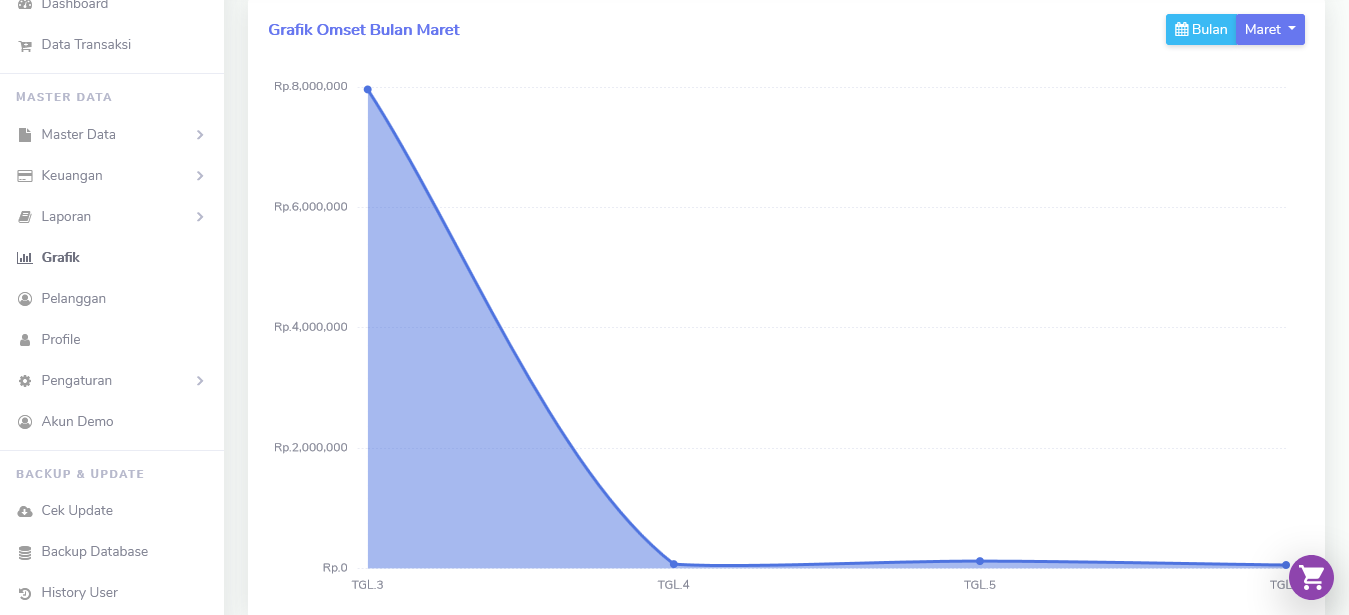
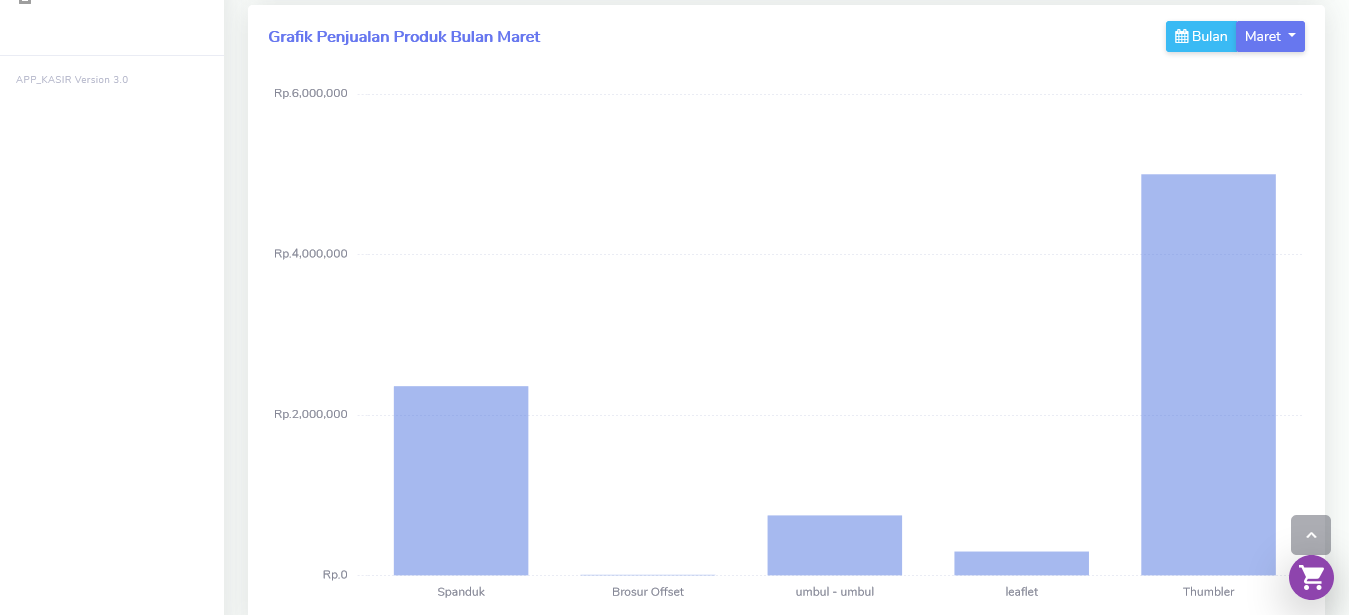
BONE Kasir Percetakan merupakan aplikasi POS yang di khususkan untuk percetakan dan digital printing yang mana POS Kasir percetakan berbeda dengan POS Kasir pada umumnya


Server Requirements :
Requirement xampp / ampps atau yg sejenis
- + Apache 2.4.4
- MySQL/MariaDB
- PHP 7.3/7.4
- phpMyAdmin
Aplikasi diatas bisa diunduh dalam satu bundel tanpa instal satu persatu dan tentunya gratis
| 1. | XAMPP | Requirements : Windows 2008, 2012, Vista, 7, 8 (Important: XP or 2003 not supported) |
|---|---|---|
| 2. | AMPPS | Requirements : Supported Operating Systems are Windows 11, 10, 8, 7 and Vista Windows Server 2022, 2019, 2016 and 2012. Supported only on 64-bit processor. Windows XP and Windows Server 2008 or lower is not supported. Note :You must have administrator privileges on your computer to run AMPPS. |
Install xampp
Apa Yang Anda Butuhkan?
- Komputer dengan sistem operasi Windows
- File installer XAMPP
Langkah-langkah Instal XAMPP di Windows
Berikut langkah-langkah mudah untuk menginstal XAMPP di komputer Anda:
-
Download XAMPP
-
Instal XAMPP
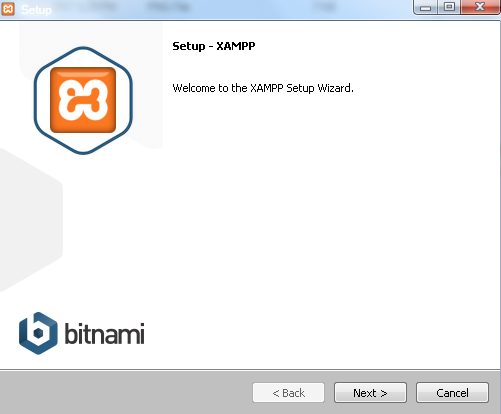
- Lakukan instalasi setelah Anda selesai mengunduh. Selama proses instalasi mungkin Anda akan melihat pesan yang menanyakan apakah Anda yakin akan menginstalnya. Silakan tekan Yes untuk melanjutkan instalasi.
- Klik tombol Next.
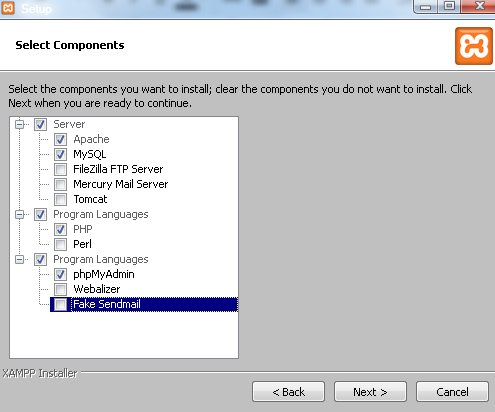
- Pada tampilan selanjutnya akan muncul pilihan mengenai komponen mana dari XAMPP yang ingin dan tidak ingin Anda instal. Beberapa pilihan seperti Apache dan PHP adalah bagian penting untuk menjalankan website dan akan otomatis diinstal. Silakan centang MySQL dan phpMyAdmin, untuk pilihan lainnya biarkan saja.
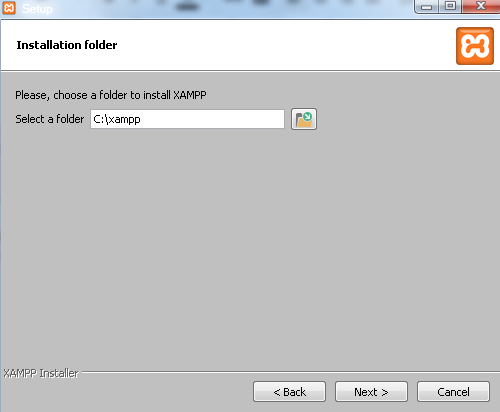
- Berikutnya silakan pilih folder tujuan dimana XAMPP ingin Anda instal. Contohnya di direktori C:\xampp. Disarankan install di drive selain C:
- Pada halaman selanjutnya, akan ada pilihan apakah Anda ingin menginstal Bitnami untuk XAMPP, dimana nantinya dapat Anda gunakan untuk install WordPress, Drupal, dan Joomla secara otomatis.
- Pada langkah ini proses instalasi XAMPP akan dimulai. Silakan klik tombol Next.
- Setelah berhasil diinstal, akan muncul notifikasi untuk langsung menjalankan control panel. Silakan klik Finish.
- Jalankan XAMPP
Download XAMPP melalui website Apache Friends. Download disini.


Silakan buka aplikasi XAMPP kemudian klik tombol Start pada Apache dan MySQL. Jika berhasil dijalankan, Apache dan MySQL akan berwarna hijau seperti gambar di bawah ini.

Install ampps
Untuk langkah-langkah install ampps bisa lihat di link berikut
Install Offline
Instal aplikasi ini sangat mudah hanya beberapa langkah saja aplikasi bisa langsung digunakan
Berikut langkah-langkah untuk menginstall aplikasi :
- Copy file pos_app.zip dan paste kedalam folder instalasi xampp misal C:\xampp\htdocs,
- Extract file pos_app.zip di folder C:\xampp\htdocs, seperti pada gambar
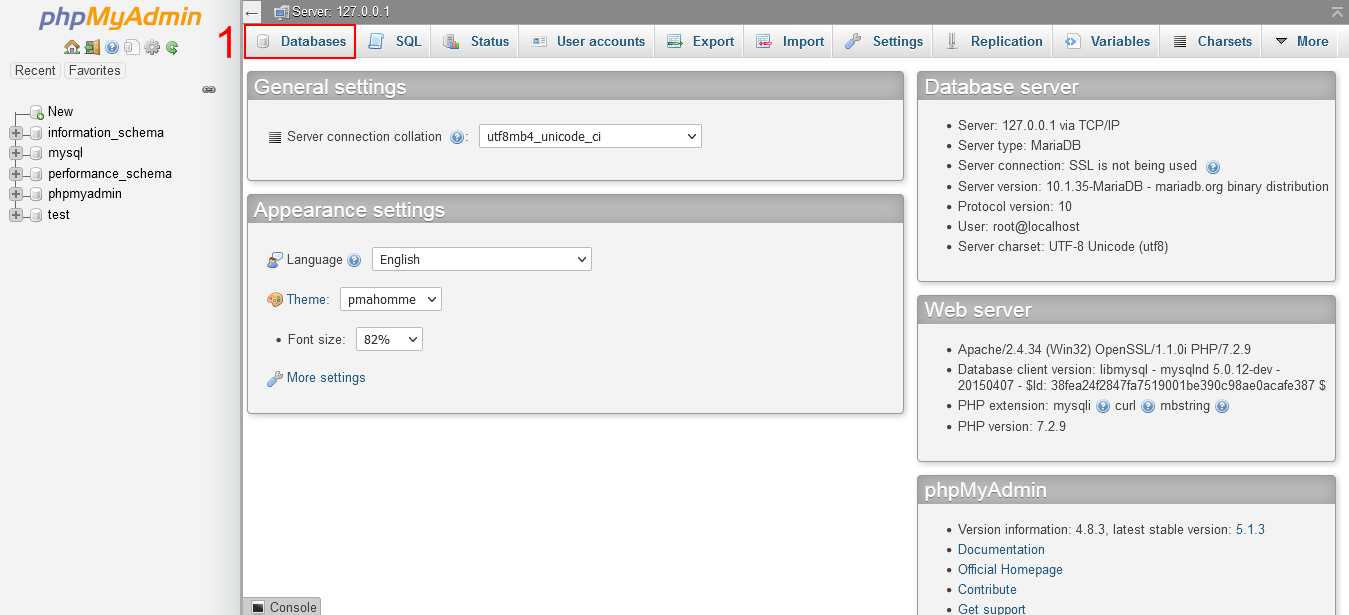
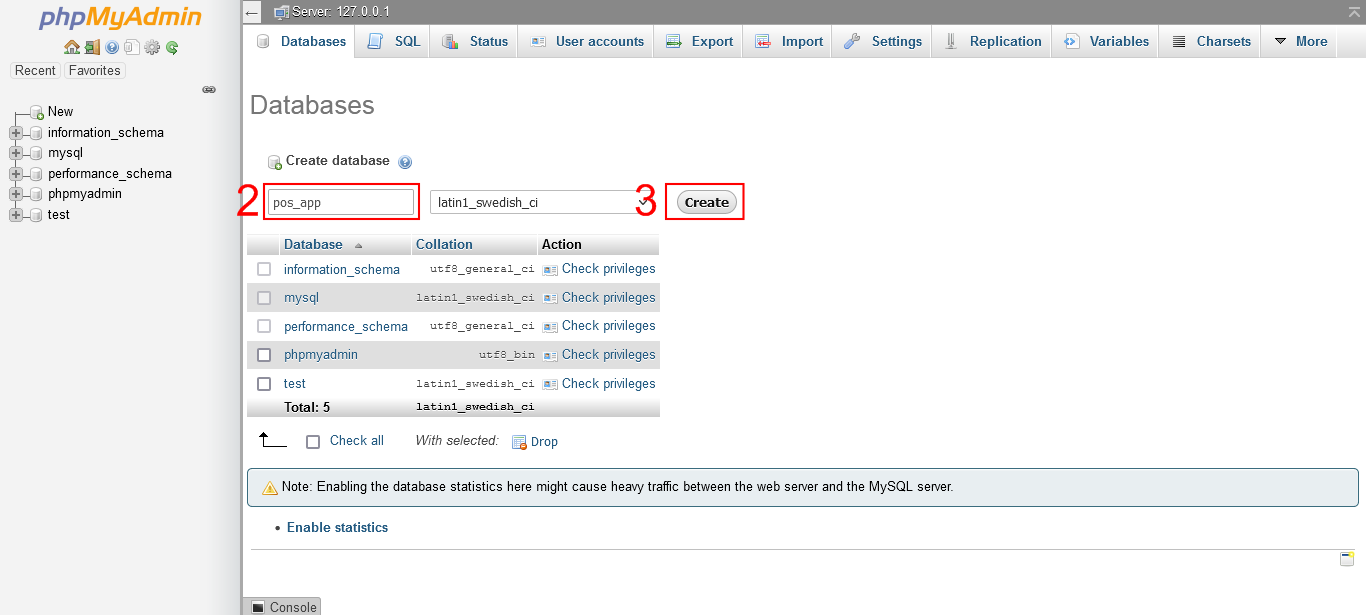
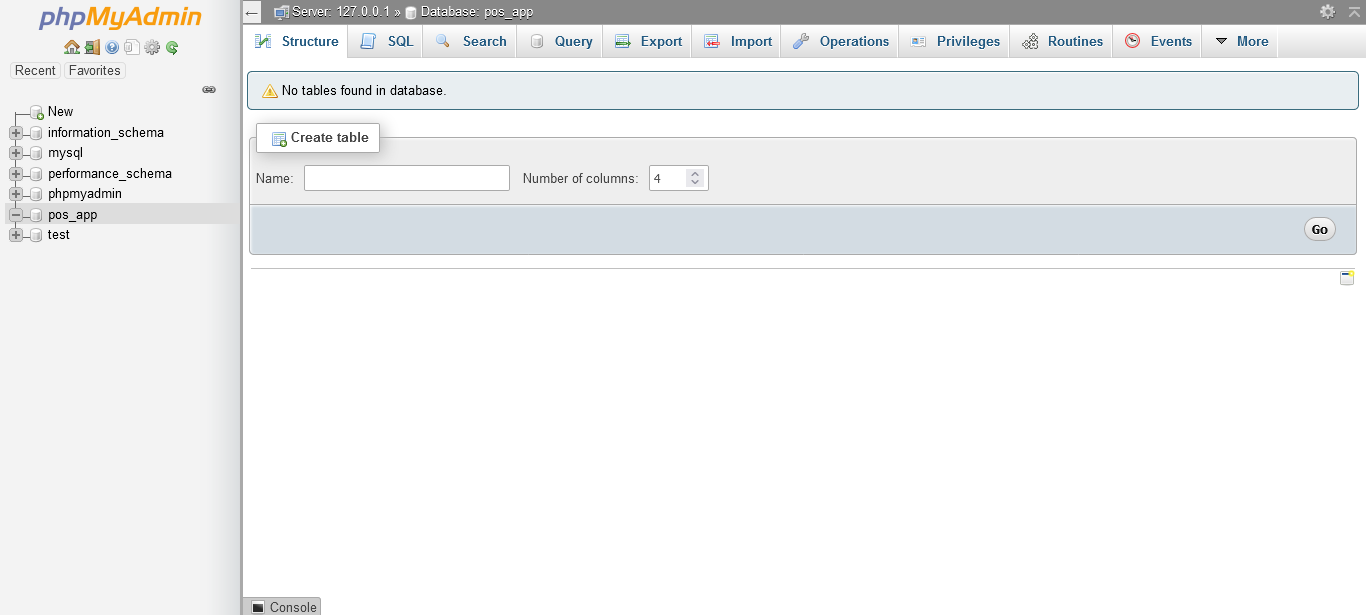
- Buat database dengan nama pos_app
- Buka browser kemudian ketik http://localhost/pos_app

Buka browser kemudian ketik http://localhost/phpmyadmin

Install Online
Instal aplikasi ini sangat mudah hanya beberapa langkah saja aplikasi bisa langsung digunakan
Berikut langkah-langkah untuk menginstall aplikasi di hosting cpanel :
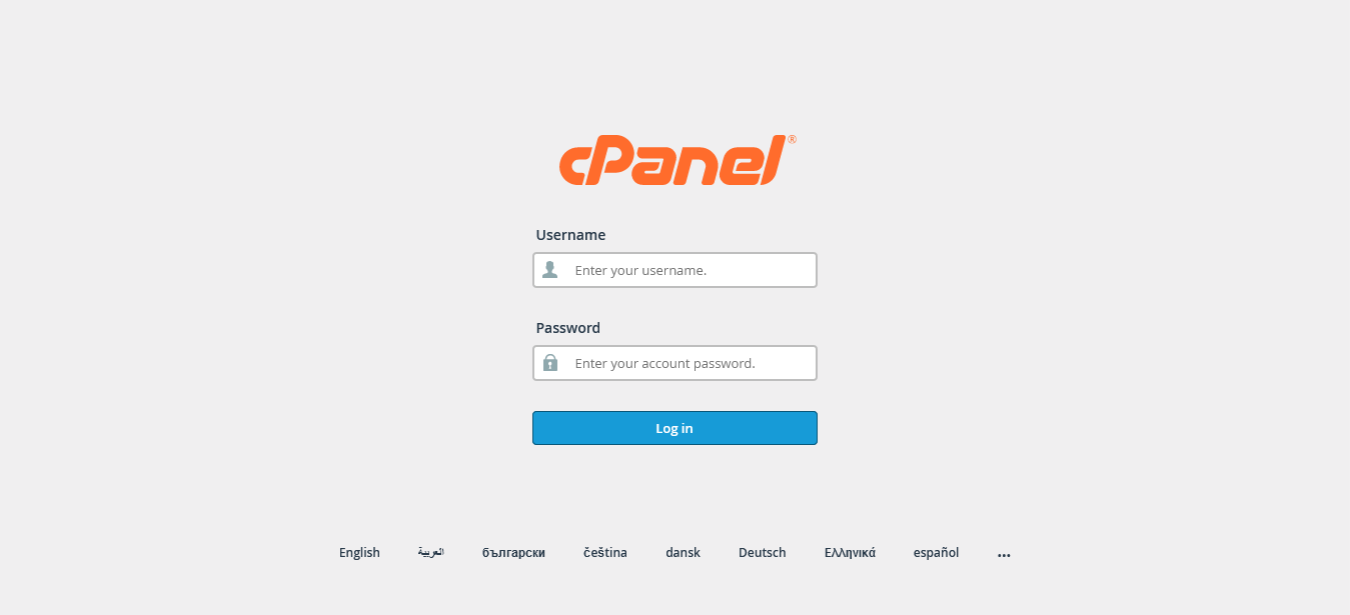
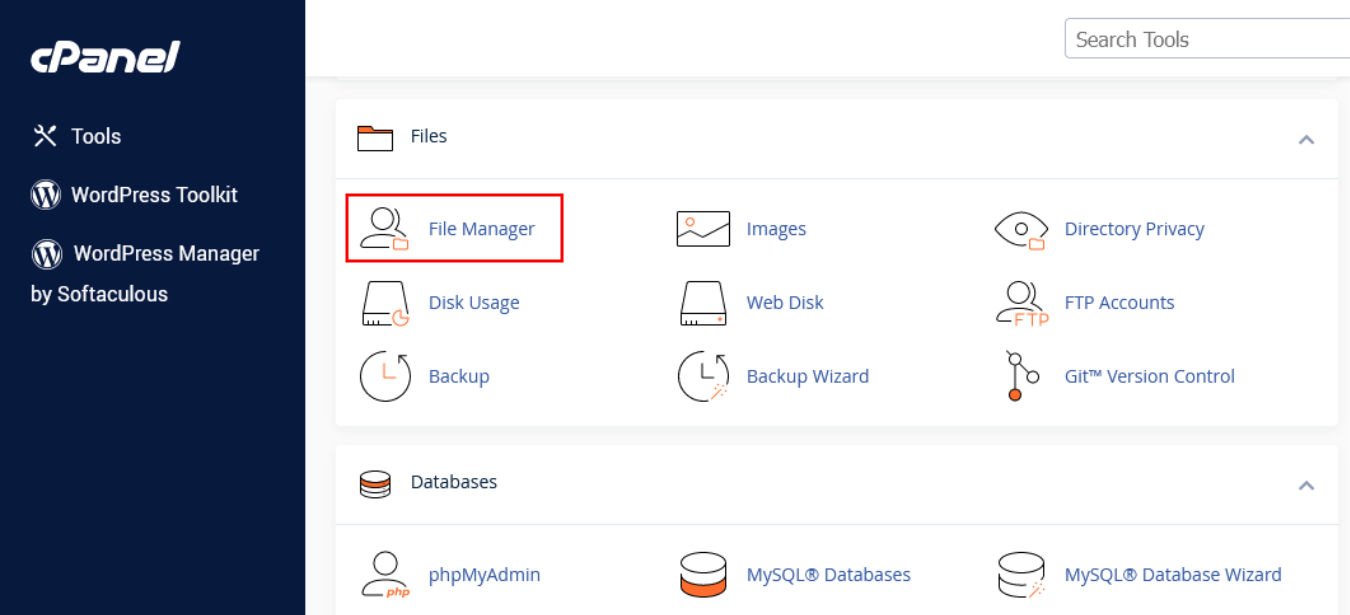
- Login terlebih dahulu ke cpanel kemudian klik menu file manager
- Kemudian klik menu file manager
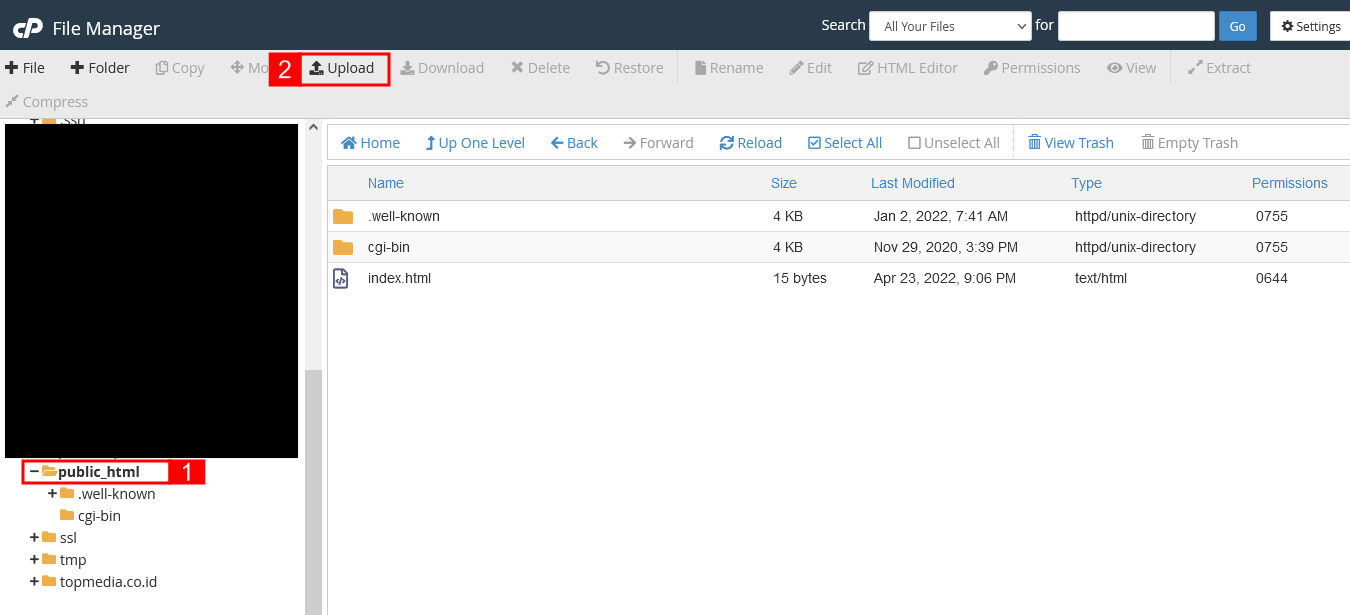
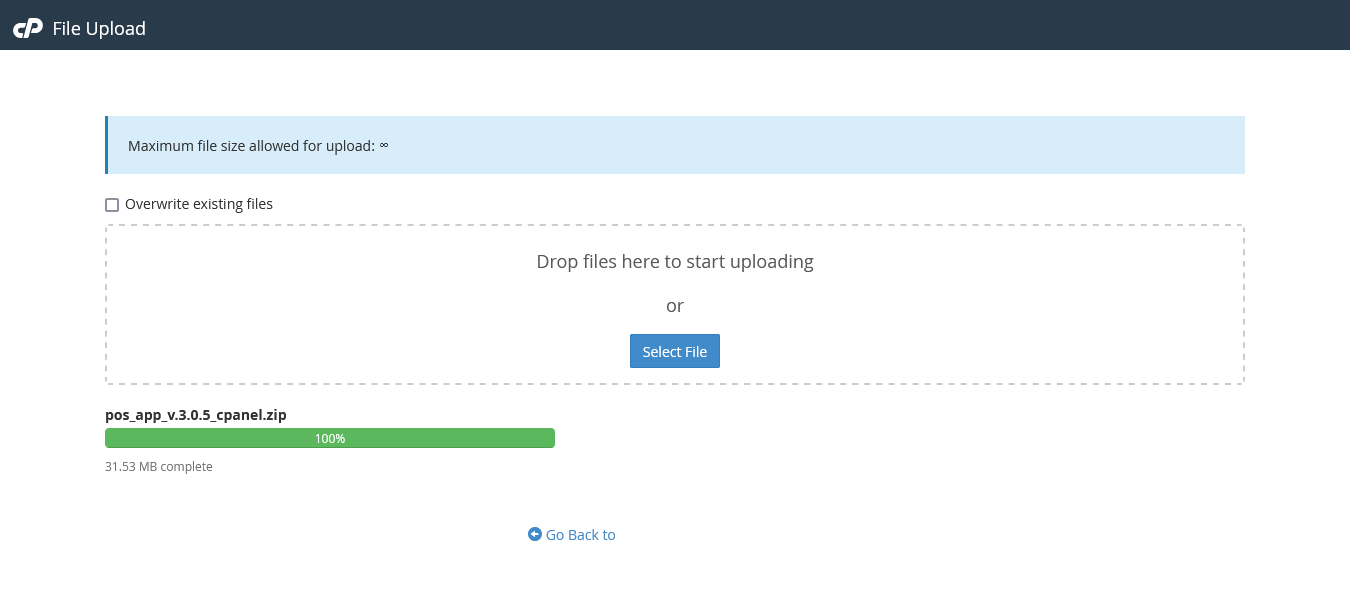
- upload file pos_app.zip di folder root public_html untuk domain utama, jika di subdomain upload di folder subdomain tersebut seperti gambar di atas
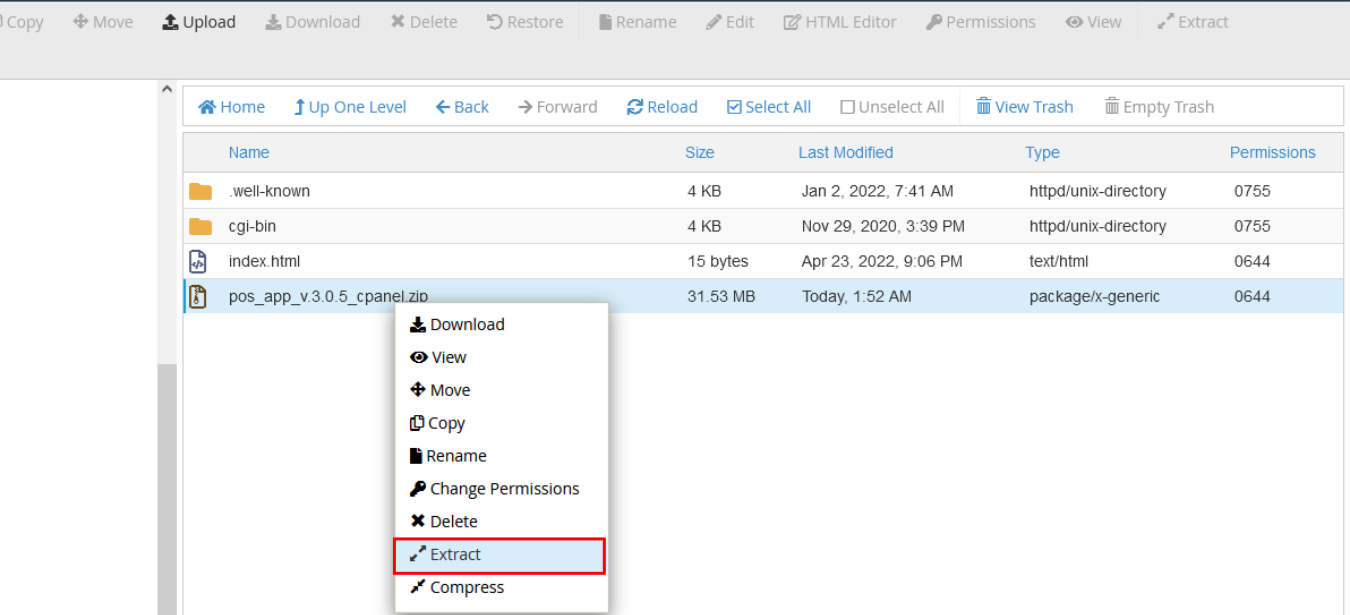
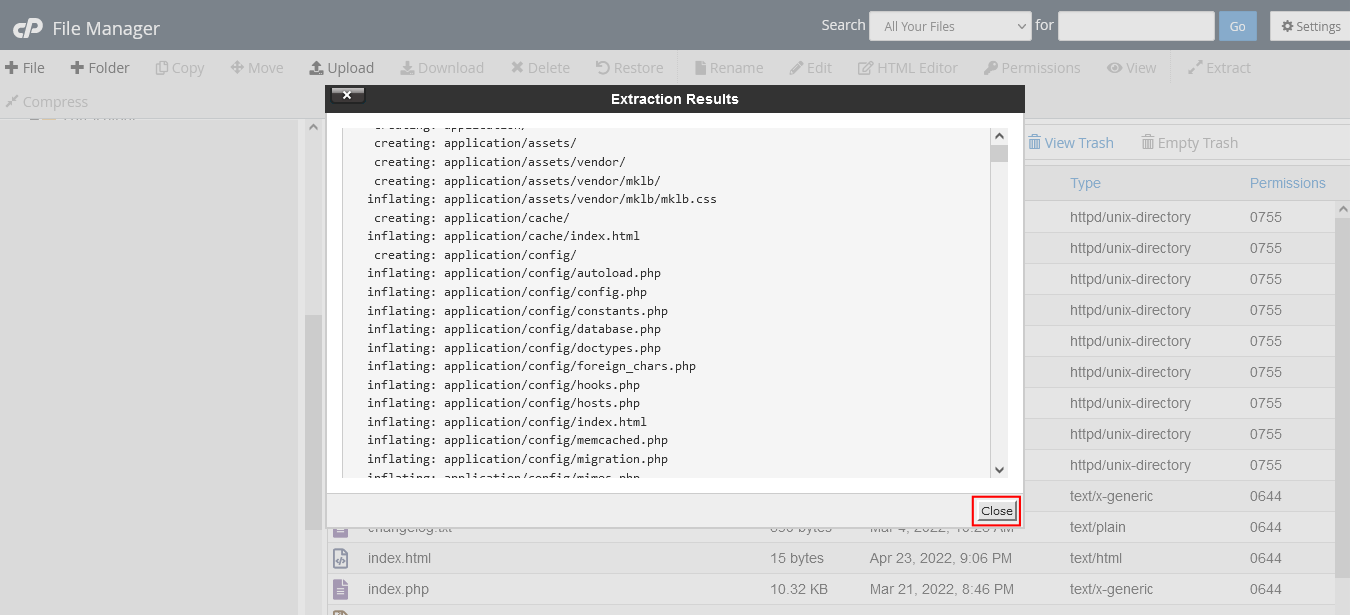
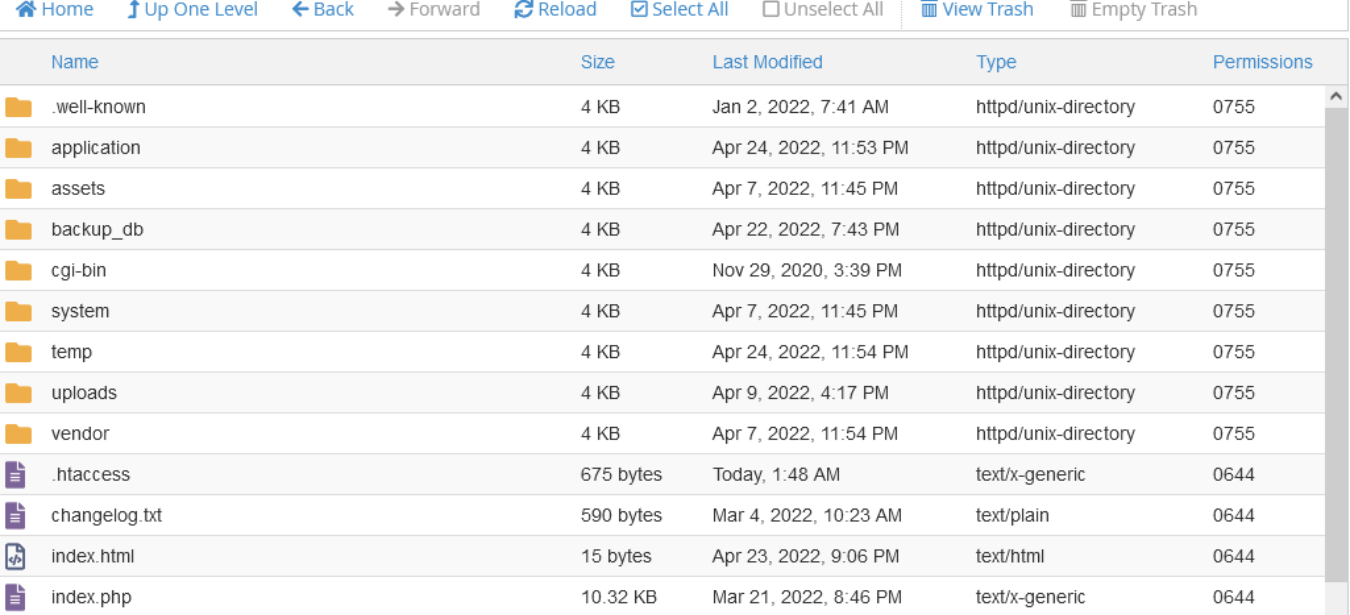
- Extract file pos_app.zip lihat gambar
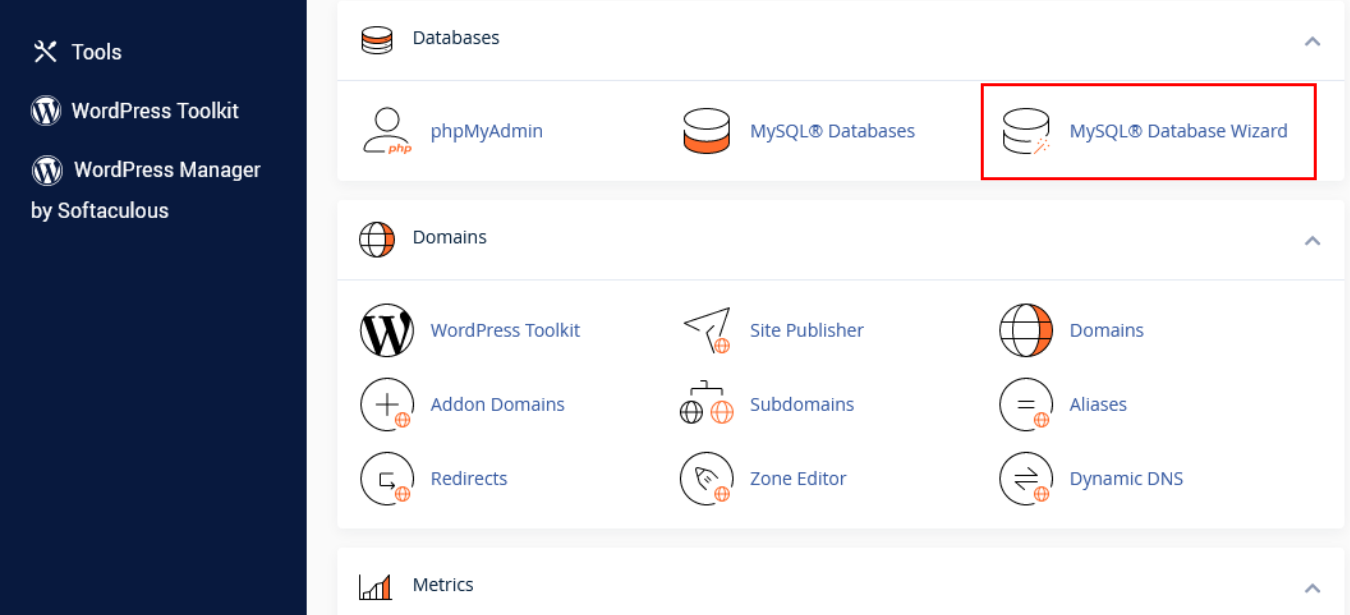
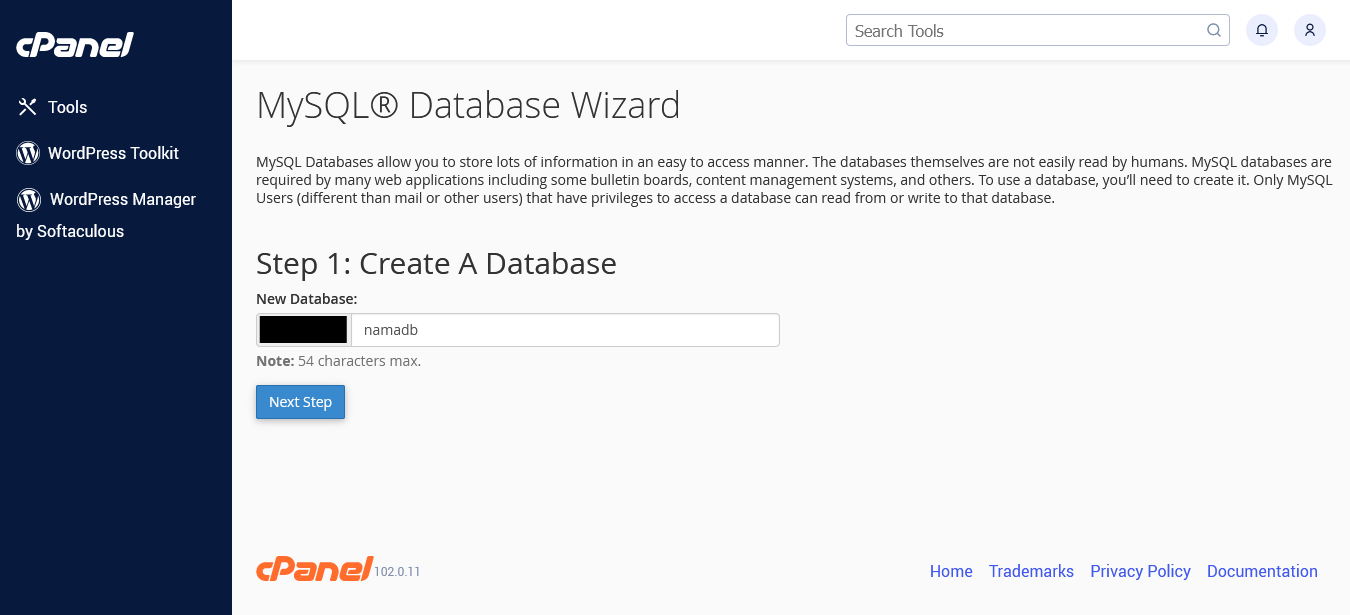
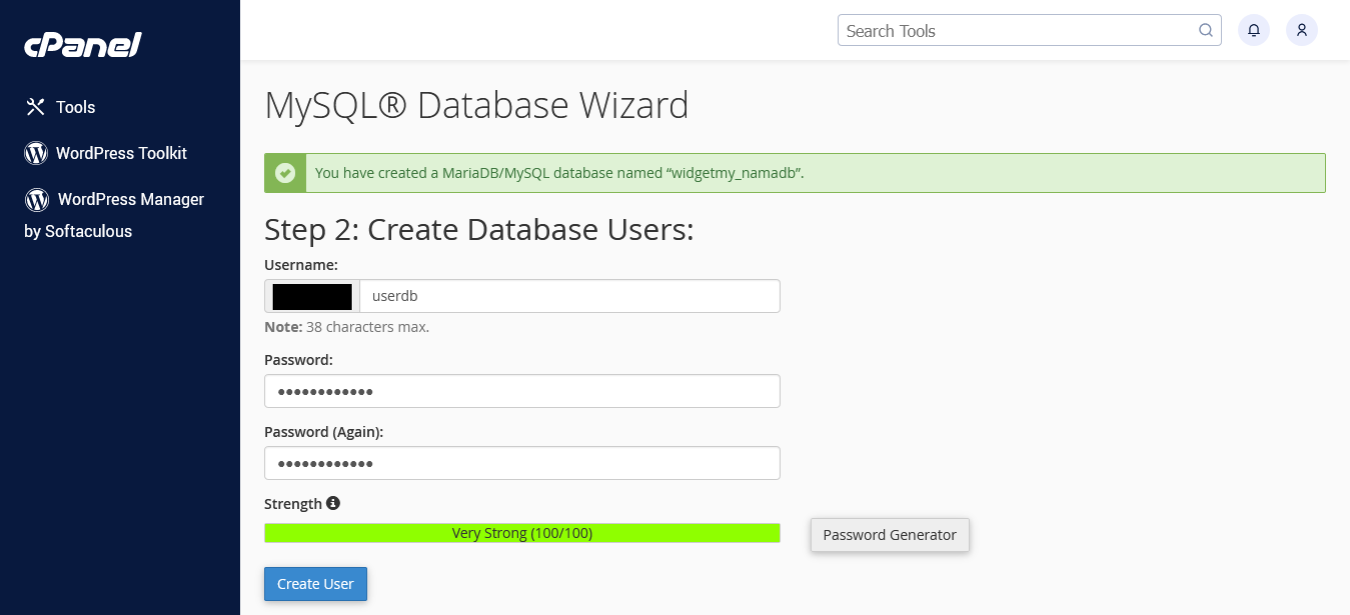
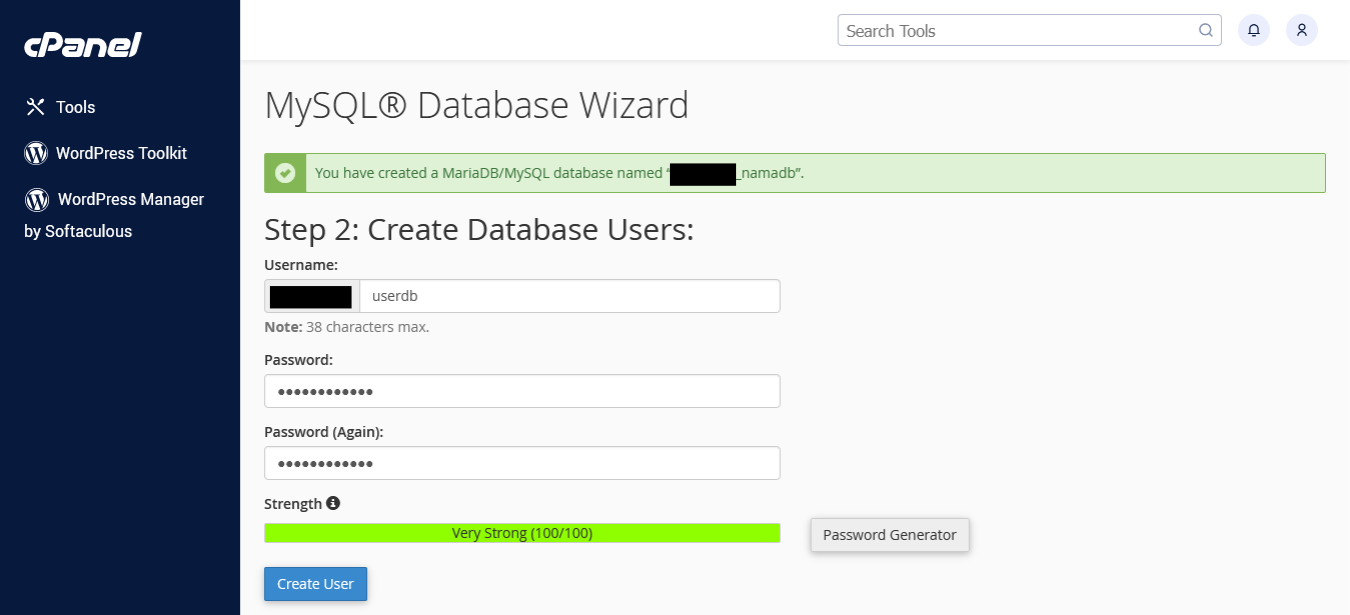
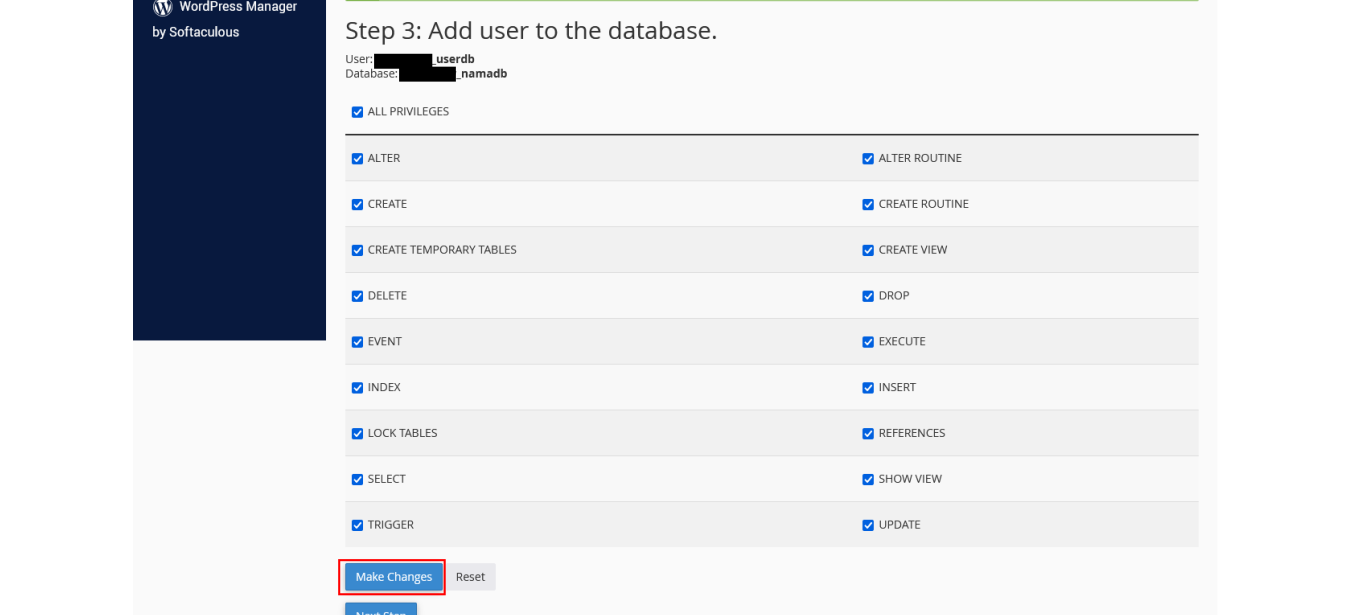
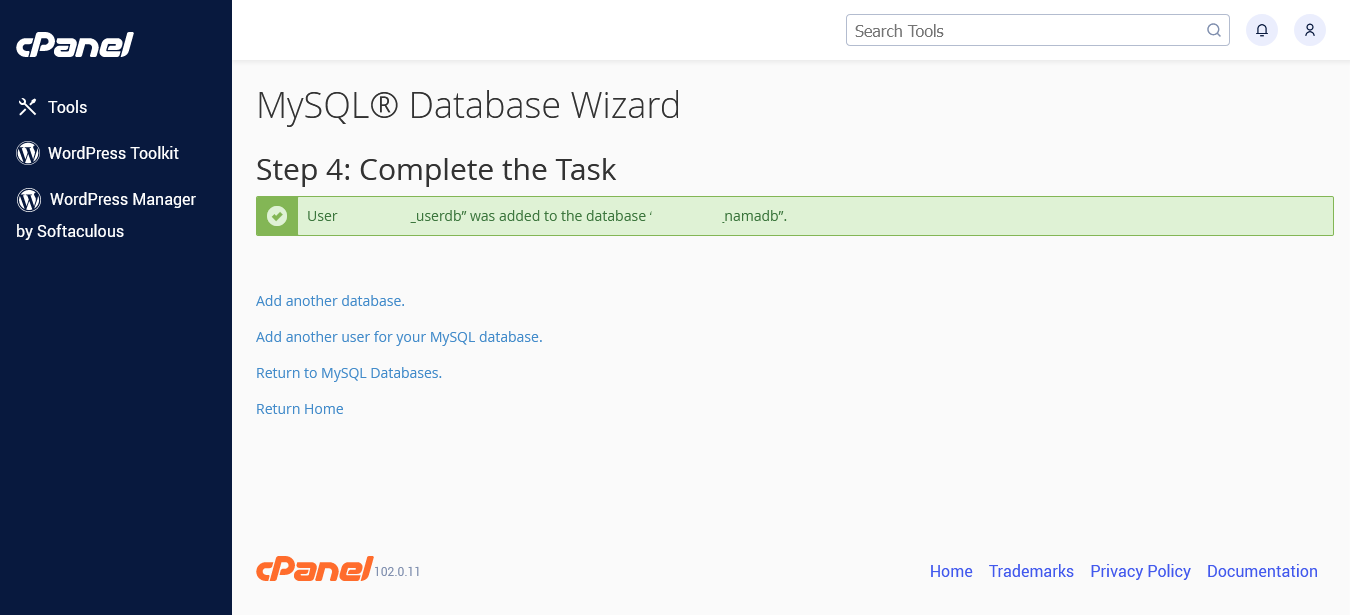
- Untuk pembuatan database lihat gambar
- Setelah selesai membuat database kembali ke file manager kemudian buka file database.php yang berada di folder application/config
- Edit pada baris 79,80,81 yaitu pada bagian username,password dan database ganti dengan data yang sudah dibuat sebelumnya
- Buka browser kemudian ketik http://domainanda.com
<?php
defined('BASEPATH') OR exit('No direct script access allowed');

/*
| -------------------------------------------------------------------
| DATABASE CONNECTIVITY SETTINGS
| -------------------------------------------------------------------
| This file will contain the settings needed to access your database.
|
| For complete instructions please consult the 'Database Connection'
| page of the User Guide.
|
| -------------------------------------------------------------------
| EXPLANATION OF VARIABLES
| -------------------------------------------------------------------
|
|	['dsn']      The full DSN string describe a connection to the database.
|	['hostname'] The hostname of your database server.
|	['username'] The username used to connect to the database
|	['password'] The password used to connect to the database
|	['database'] The name of the database you want to connect to
|	['dbdriver'] The database driver. e.g.: mysqli.
|			Currently supported:
|				 cubrid, ibase, mssql, mysql, mysqli, oci8,
|				 odbc, pdo, postgre, sqlite, sqlite3, sqlsrv
|	['dbprefix'] You can add an optional prefix, which will be added
|				 to the table name when using the  Query Builder class
|	['pconnect'] TRUE/FALSE - Whether to use a persistent connection
|	['db_debug'] TRUE/FALSE - Whether database errors should be displayed.
|	['cache_on'] TRUE/FALSE - Enables/disables query caching
|	['cachedir'] The path to the folder where cache files should be stored
|	['char_set'] The character set used in communicating with the database
|	['dbcollat'] The character collation used in communicating with the database
|				 NOTE: For MySQL and MySQLi databases, this setting is only used
| 				 as a backup if your server is running PHP < 5.2.3 or MySQL < 5.0.7
|				 (and in table creation queries made with DB Forge).
| 				 There is an incompatibility in PHP with mysql_real_escape_string() which
| 				 can make your site vulnerable to SQL injection if you are using a
| 				 multi-byte character set and are running versions lower than these.
| 				 Sites using Latin-1 or UTF-8 database character set and collation are unaffected.
|	['swap_pre'] A default table prefix that should be swapped with the dbprefix
|	['encrypt']  Whether or not to use an encrypted connection.
|
|			'mysql' (deprecated), 'sqlsrv' and 'pdo/sqlsrv' drivers accept TRUE/FALSE
|			'mysqli' and 'pdo/mysql' drivers accept an array with the following options:
|
|				'ssl_key'    - Path to the private key file
|				'ssl_cert'   - Path to the public key certificate file
|				'ssl_ca'     - Path to the certificate authority file
|				'ssl_capath' - Path to a directory containing trusted CA certificats in PEM format
|				'ssl_cipher' - List of *allowed* ciphers to be used for the encryption, separated by colons (':')
|				'ssl_verify' - TRUE/FALSE; Whether verify the server certificate or not ('mysqli' only)
|
|	['compress'] Whether or not to use client compression (MySQL only)
|	['stricton'] TRUE/FALSE - forces 'Strict Mode' connections
|							- good for ensuring strict SQL while developing
|	['ssl_options']	Used to set various SSL options that can be used when making SSL connections.
|	['failover'] array - A array with 0 or more data for connections if the main should fail.
|	['save_queries'] TRUE/FALSE - Whether to "save" all executed queries.
| 				NOTE: Disabling this will also effectively disable both
| 				$this->db->last_query() and profiling of DB queries.
| 				When you run a query, with this setting set to TRUE (default),
| 				CodeIgniter will store the SQL statement for debugging purposes.
| 				However, this may cause high memory usage, especially if you run
| 				a lot of SQL queries ... disable this to avoid that problem.
|
| The $active_group variable lets you choose which connection group to
| make active.  By default there is only one group (the 'default' group).
|
| The $query_builder variables lets you determine whether or not to load
| the query builder class.
*/
$active_group = 'default';
$query_builder = TRUE;

$db['default'] = array(
	'dsn'	=> '',
	'hostname' => 'localhost',
	'username' => 'root',
	'password' => 'mysql',
	'database' => 'pos_app_client',
	'dbdriver' => 'mysqli',
	'dbprefix' => '',
	'pconnect' => FALSE,
	'db_debug' => (ENVIRONMENT !== 'production'),
	'cache_on' => FALSE,
	'cachedir' => '',
	'char_set' => 'utf8',
	'dbcollat' => 'utf8_general_ci',
	'swap_pre' => '',
	'encrypt' => FALSE,
	'compress' => FALSE,
	'stricton' => FALSE,
	'failover' => array(),
	'save_queries' => TRUE
);